
Framing Guide
Hey there, I’m super excited to now be offering canvas prints! The best thing about these prints is that they can be framed with or without glass and I offer these prints up to 24x36. Click here for one of my favorite new landscape prints.
In this tutorial, I am going to show you how to frame them with and without a mat. I will be framing an 8x10 and 11x14 print but this concept can apply to any size. Let’s get started!

FRAMING MADE EASY!
Follow this tutorial below to see how I do it. You can apply this to any size!
What you need:
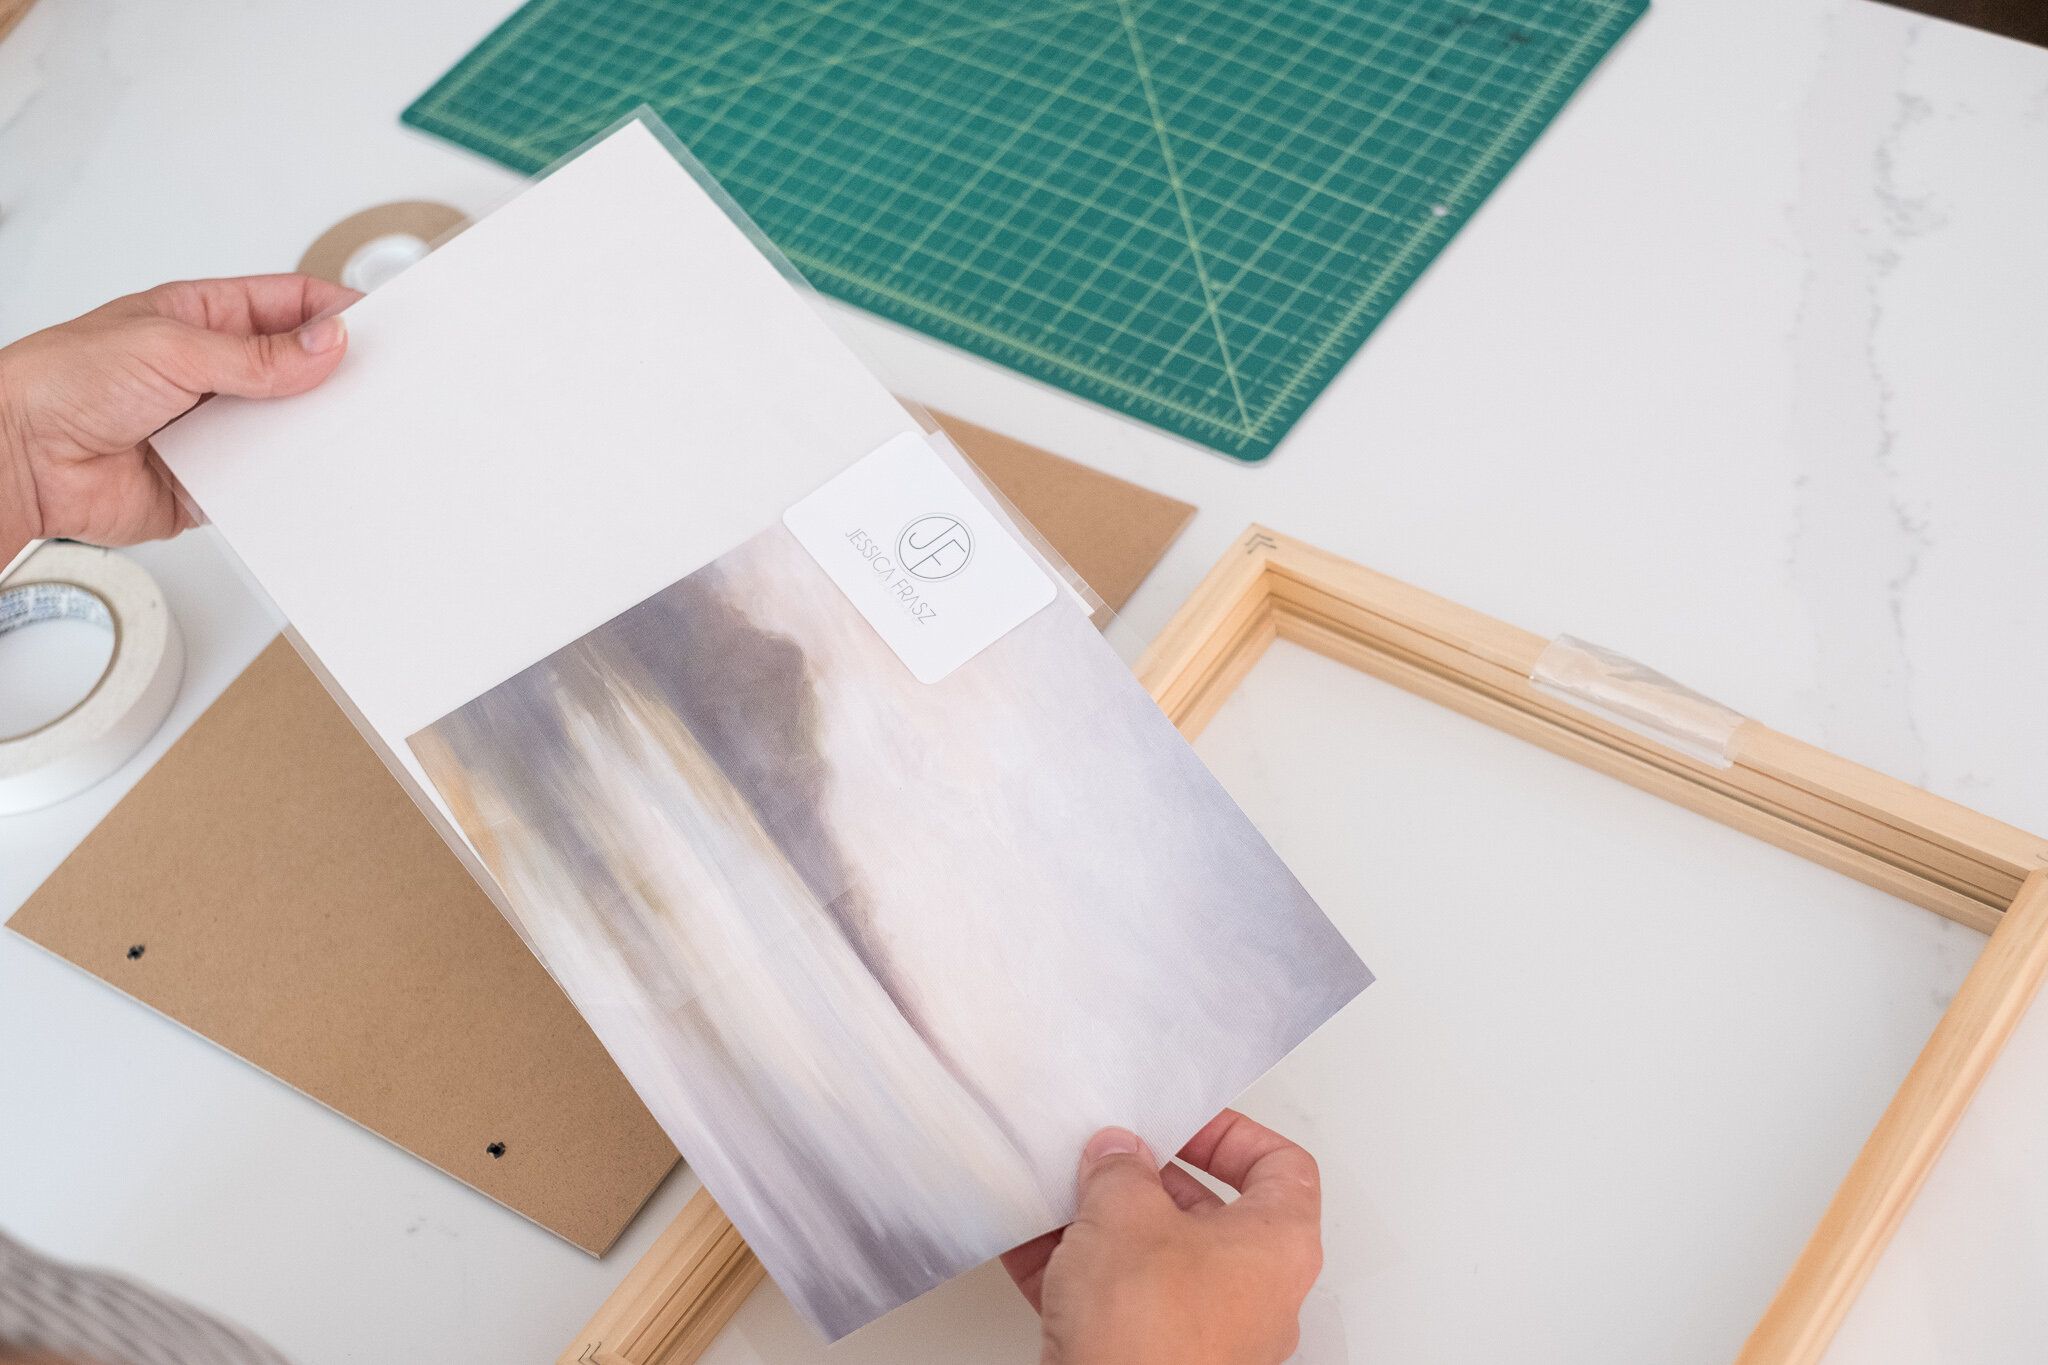
One of my lovely Canvas Prints
Frame options: IKEA IKEA’s Ribba Frame and Hovsta Frame: 12x16 or 16x20 You can also find a vintage frame and then just buy a backing board.
Scissors or X-acto blade and ruler/ to cut the white edge of canvas print.
Acid free tape (for framing with a mat)
Double sided acid free tape (framing without a mat) Please note: for a more permanent mount, I recommend taking your print to a local framer. You can also have your canvas stretched (Larger canvas comes with 2” inch white border)
Framing with a Mat
Yes, the best part is choosing a print, finding that special piece that draws you in. Maybe it’s the color or the overall mood but always buy something you love that will sing on your wall! Make sure to buy a frame with the correct mat opening to your art size. It should state it on the frame packaging.
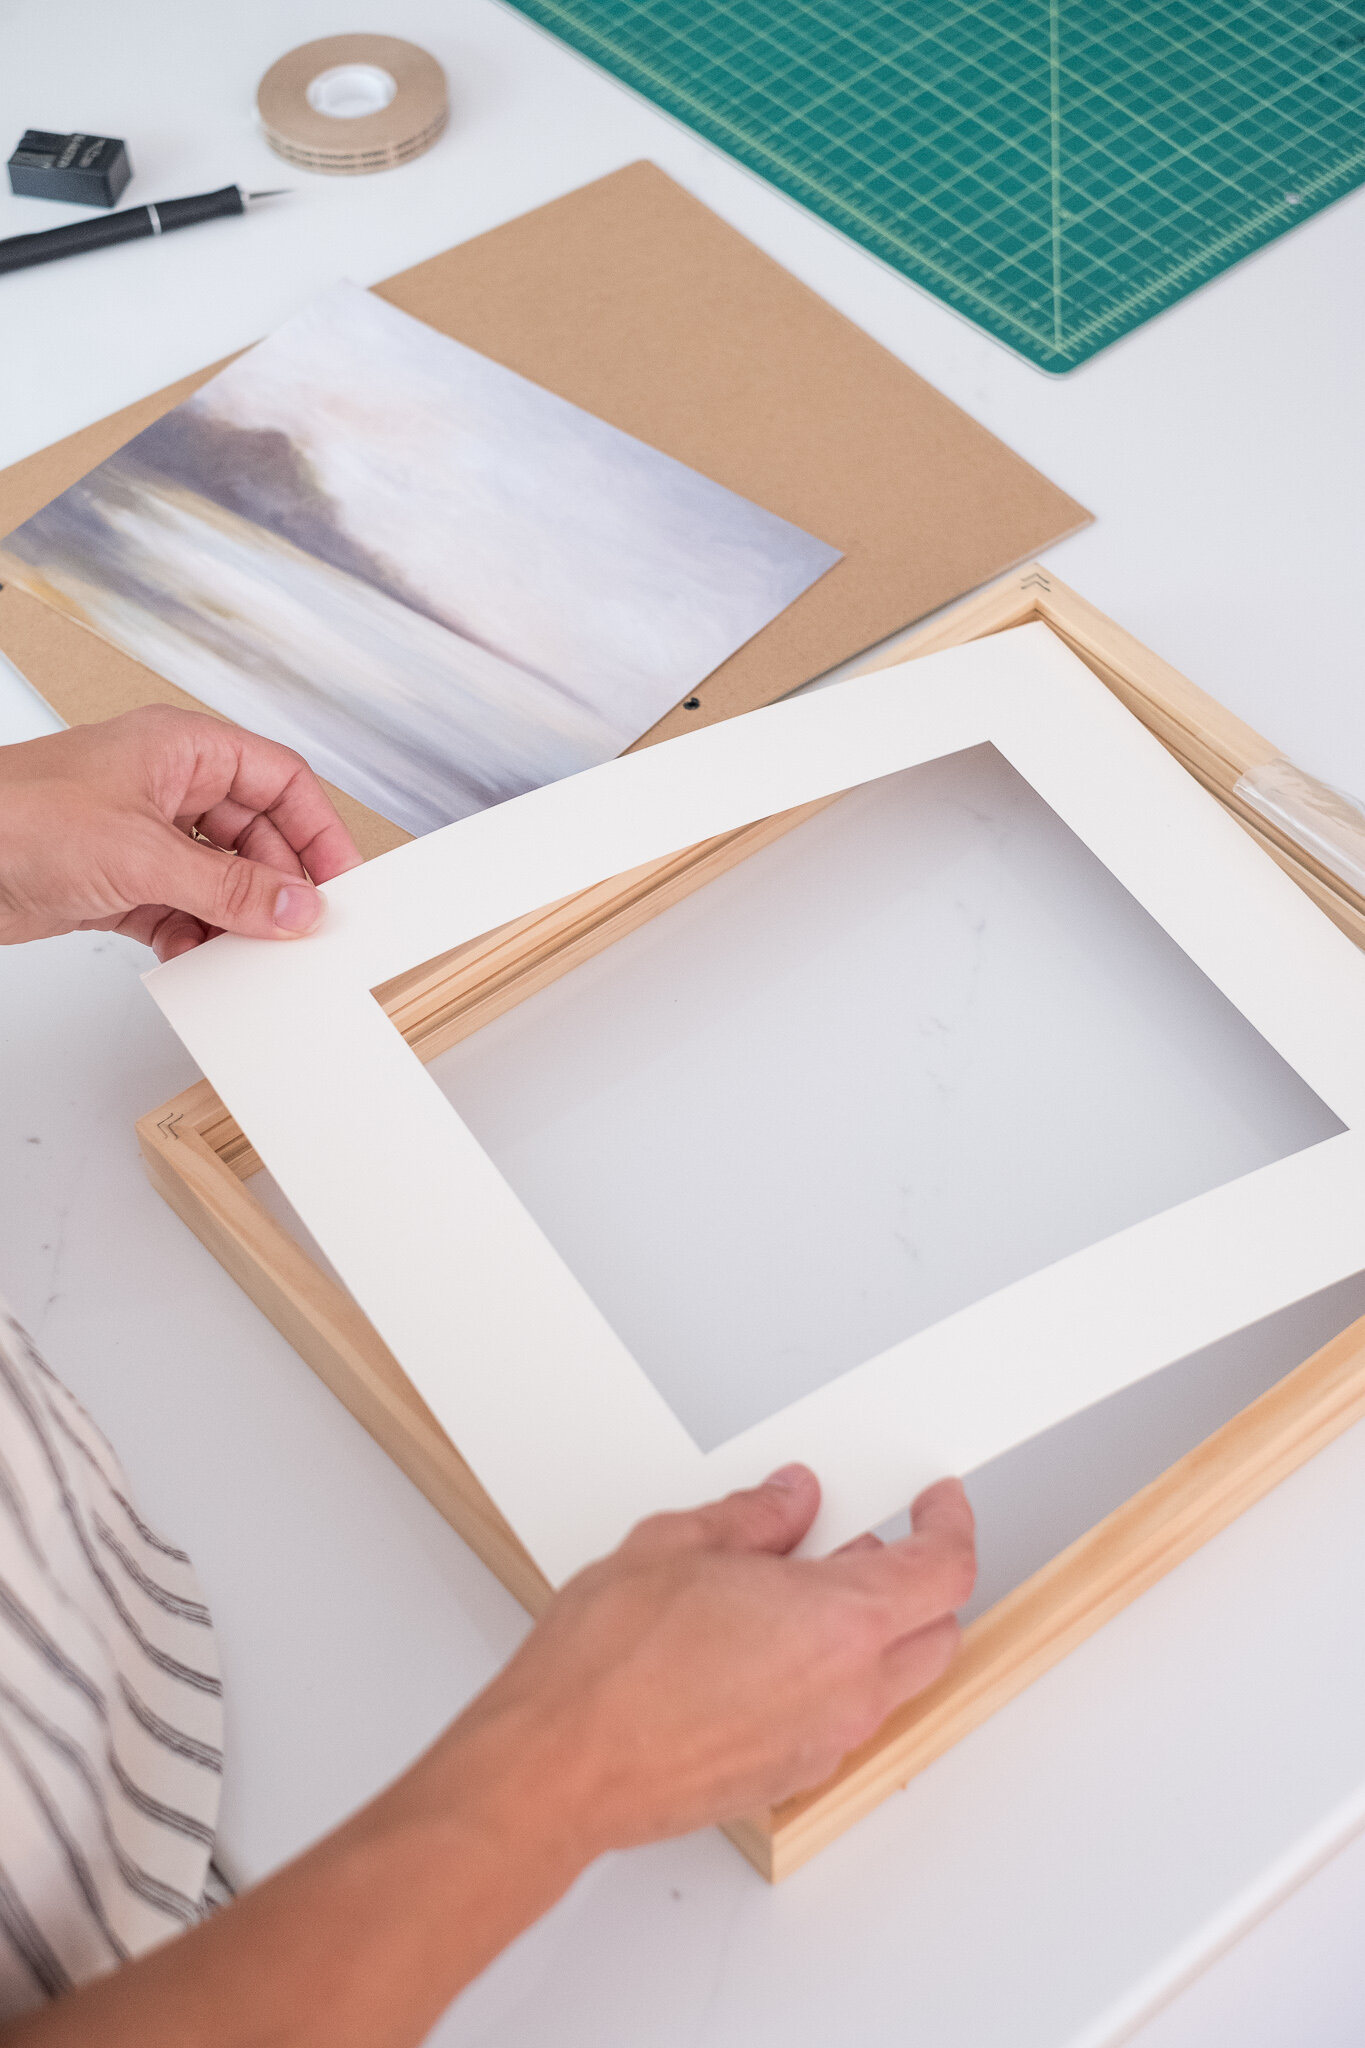
Remove frame from glass then tape the art to the back of the mat.
(Good tip is to use an archival or white art tape).
Check your placement ( a trick for this is taping one or two corners first then turn it over to see if you need to shift the artwork before you finish taping all sides).

3. Once the art is placed correctly, put it back in the frame facing down.
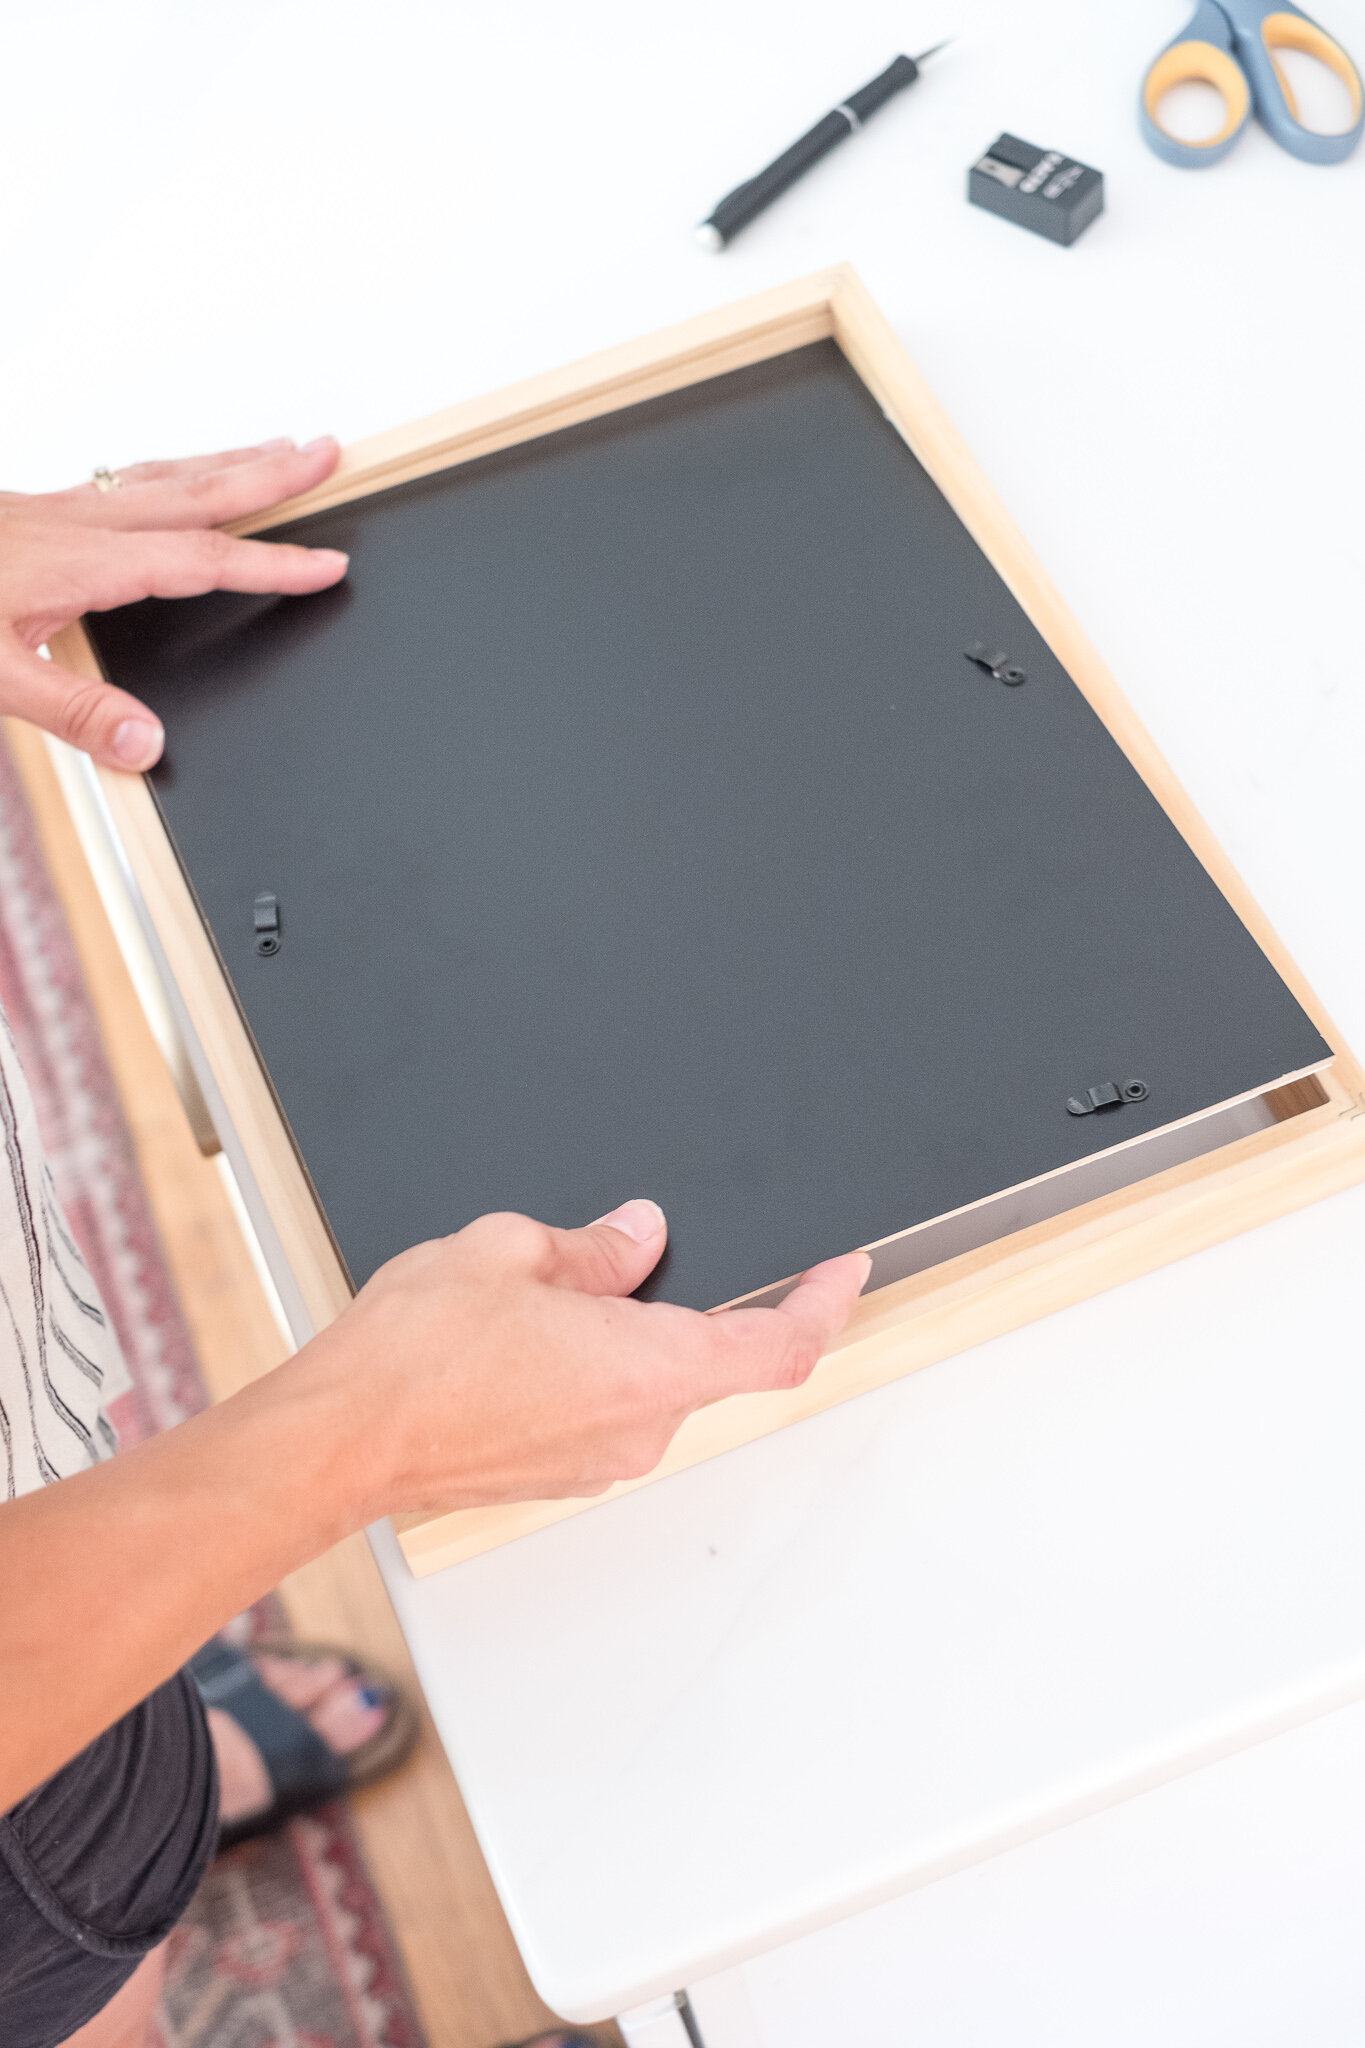
4. Place backing on top and that’s it, easy peasy!

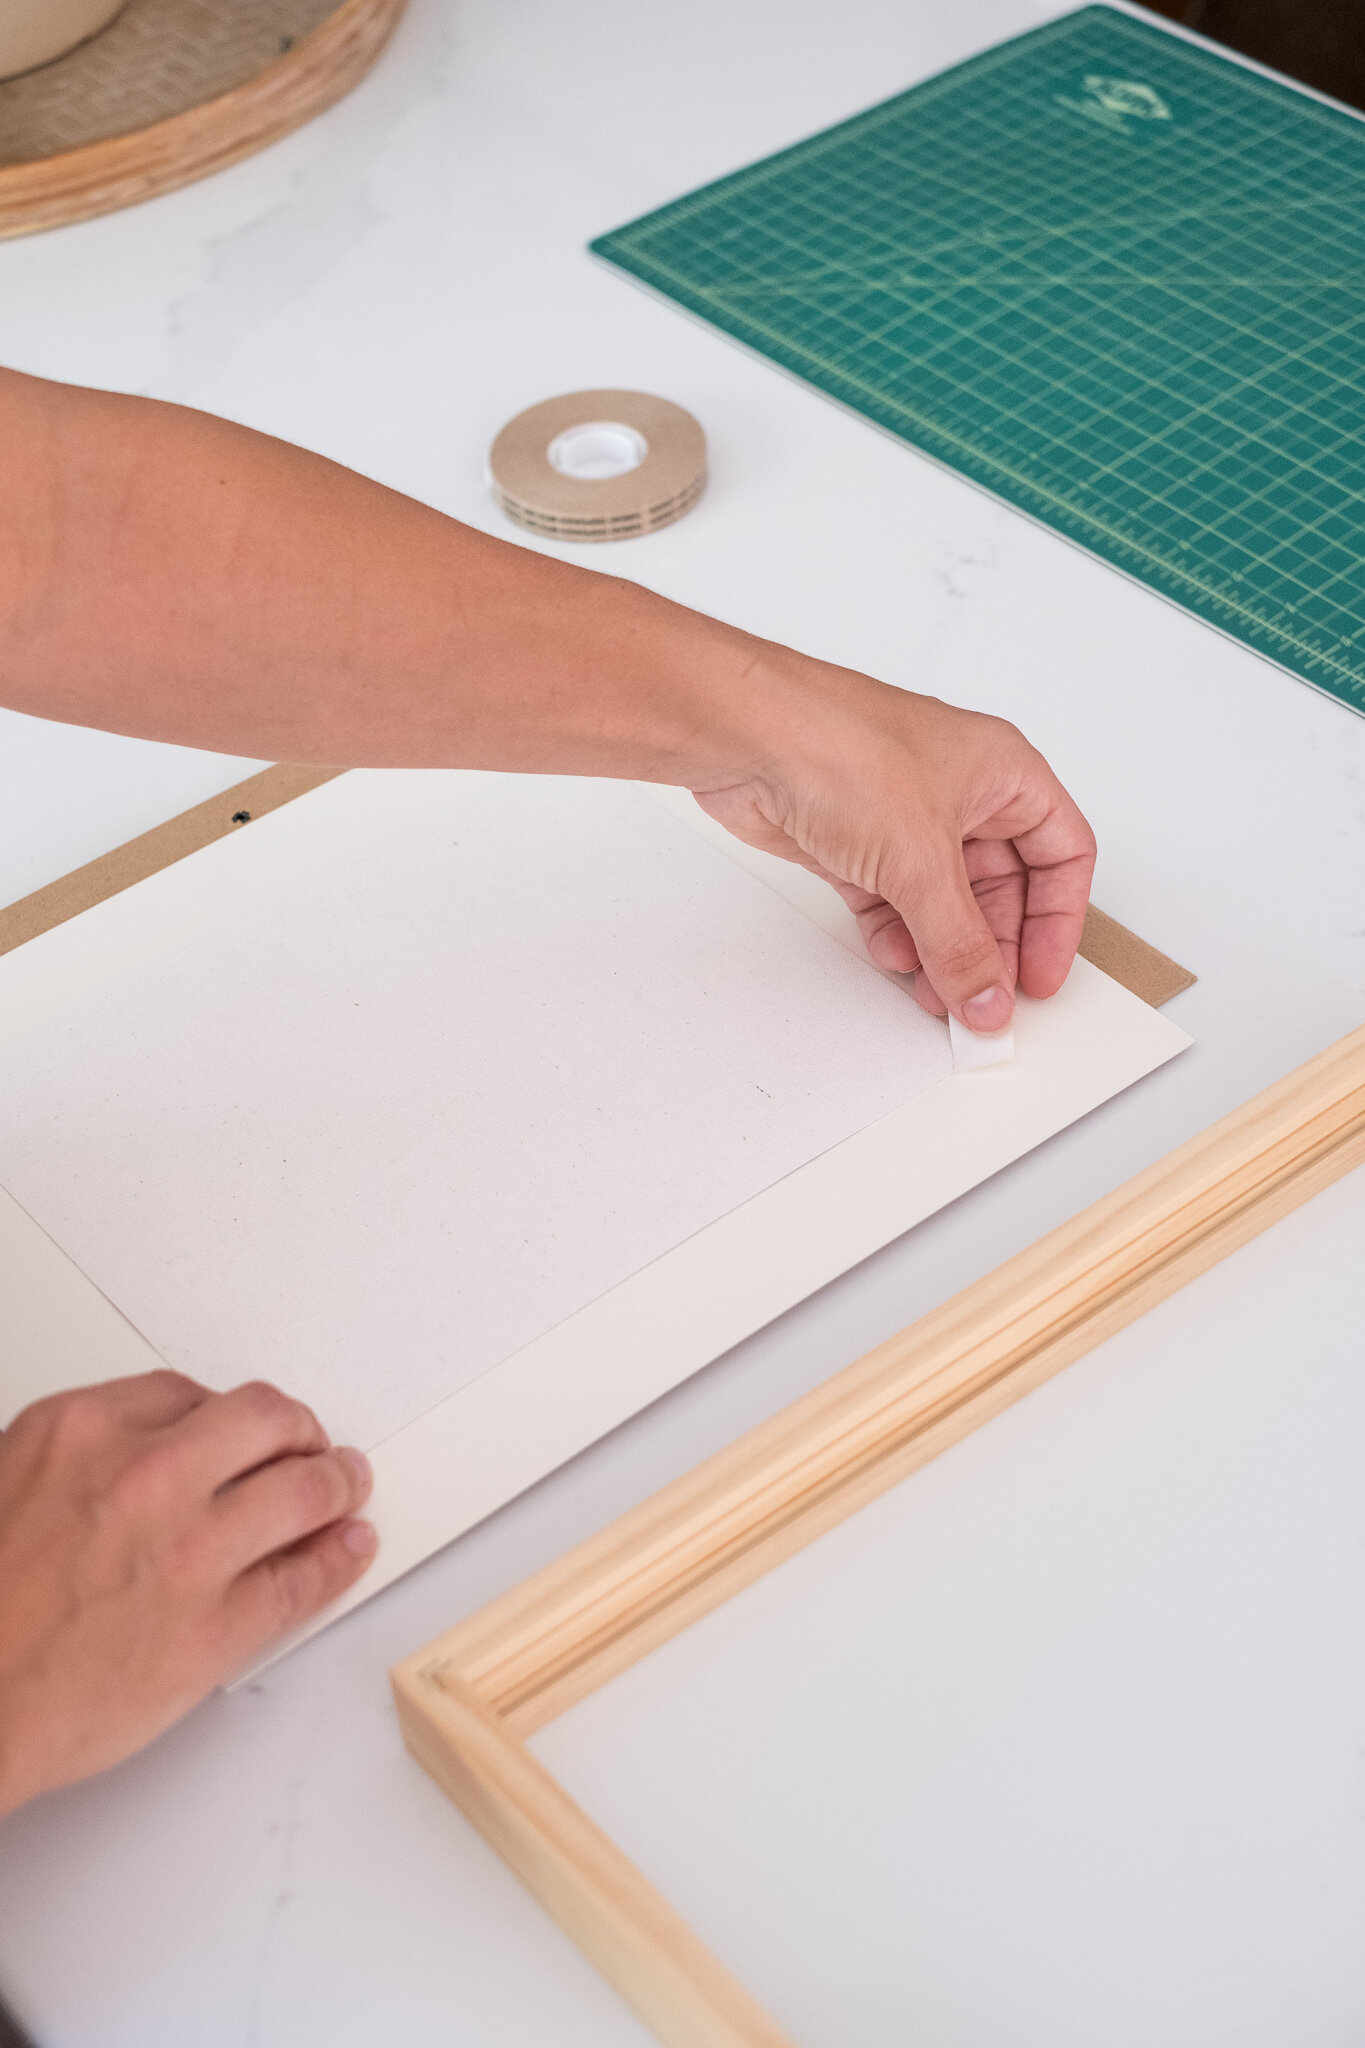
Framing without Mat
Yes, this is a great way to frame a canvas print and make it look like an original painting, no mat or glass needed!! Find the frame that goes with the colors of the artwork, whether it’s a modern wood or a vintage find. Follow the steps below to get this look!
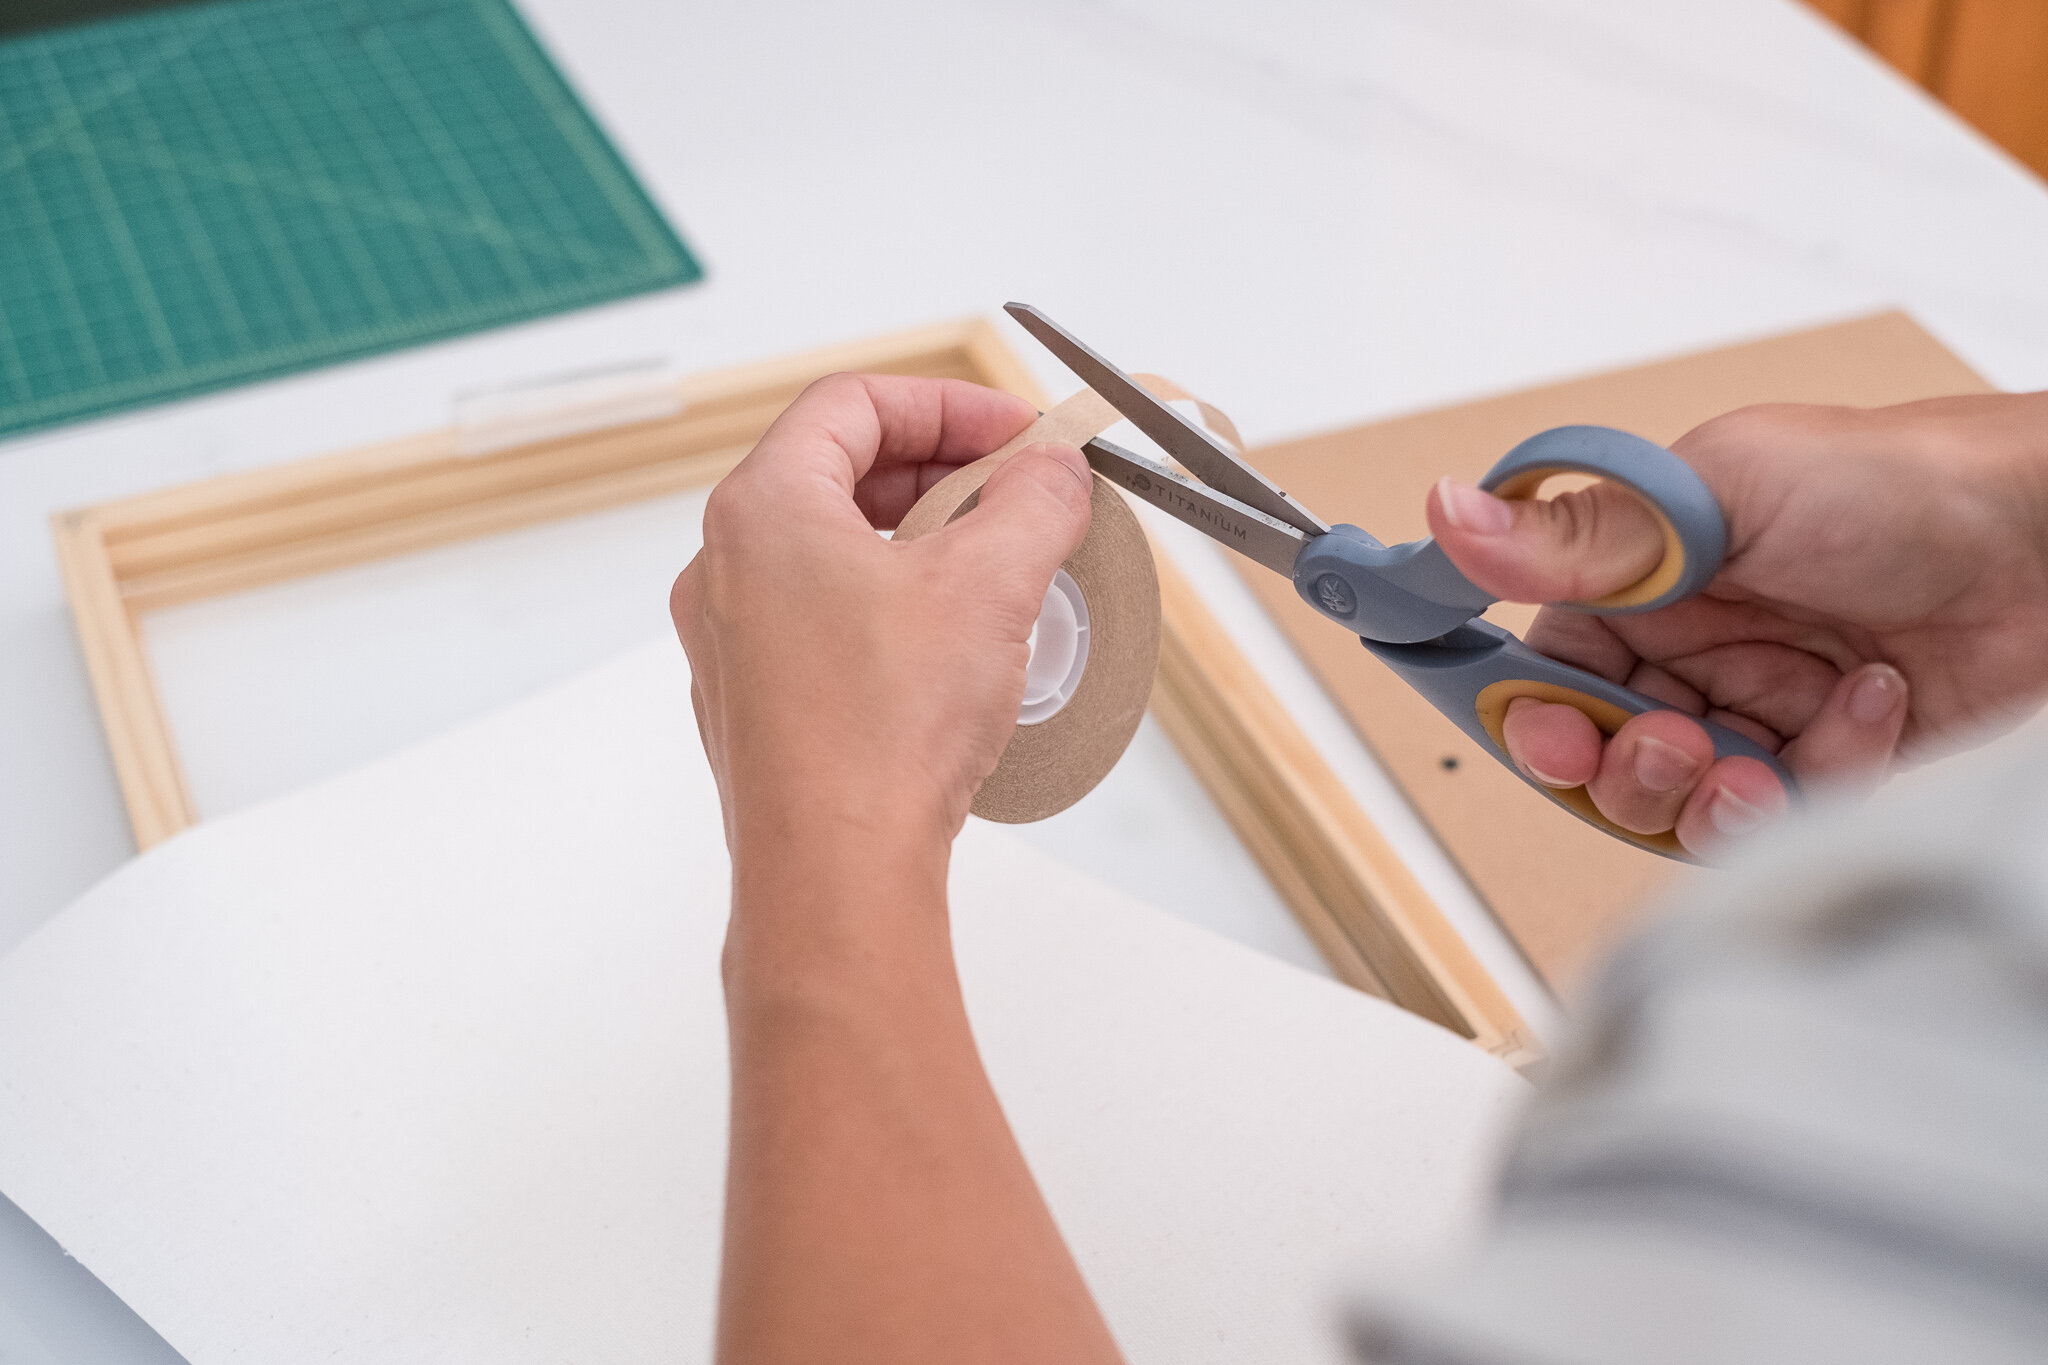
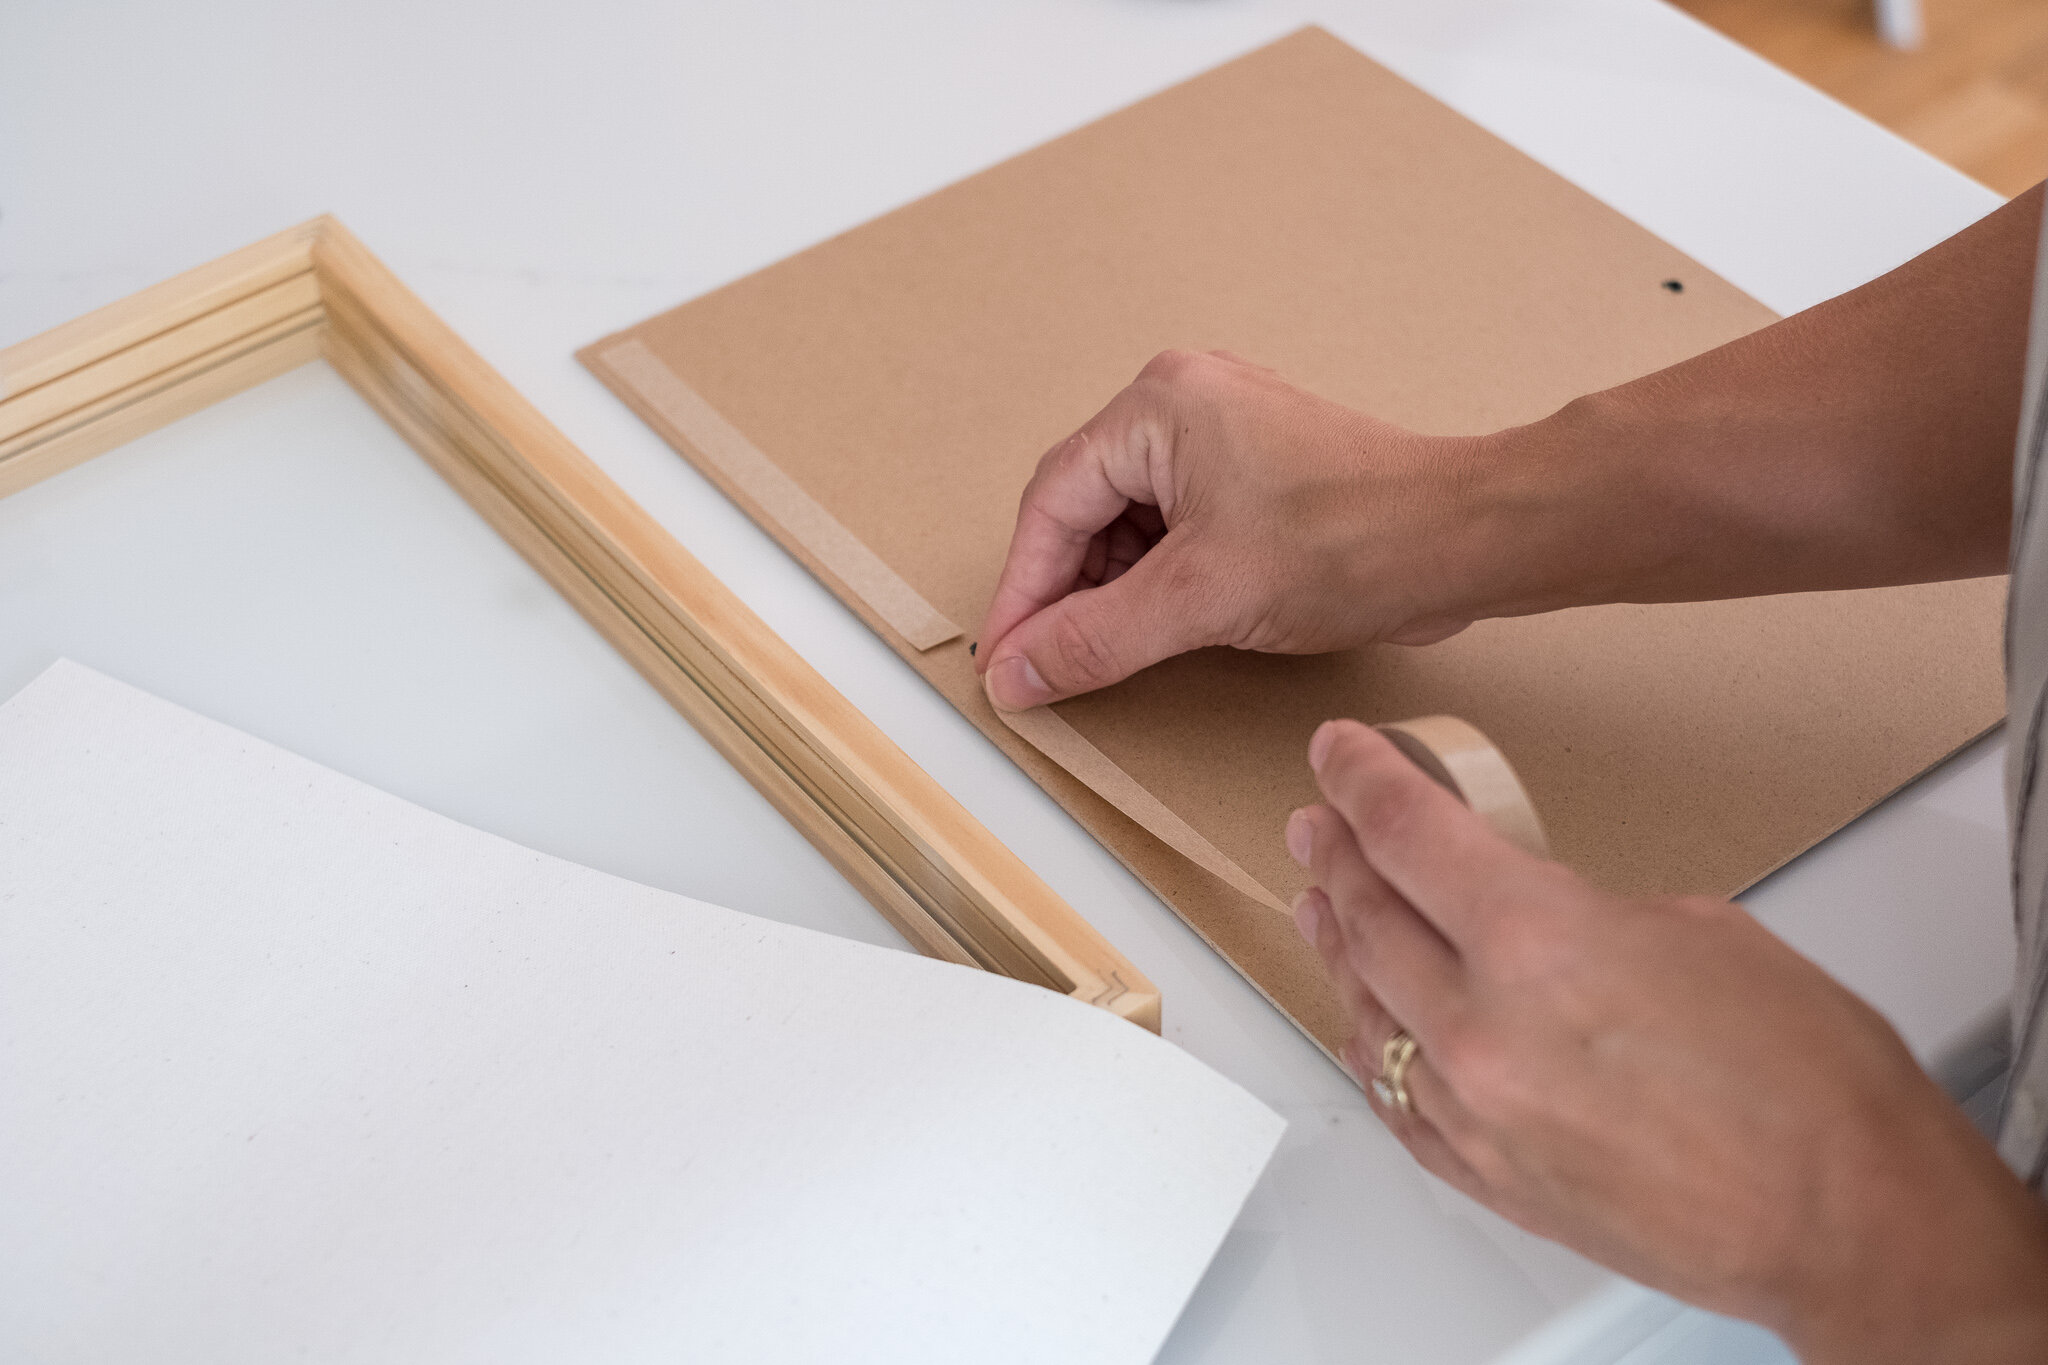
Use double sided tape. Cut small strips.
Place strips along the border of the backing board (this is the board that comes with he frame).
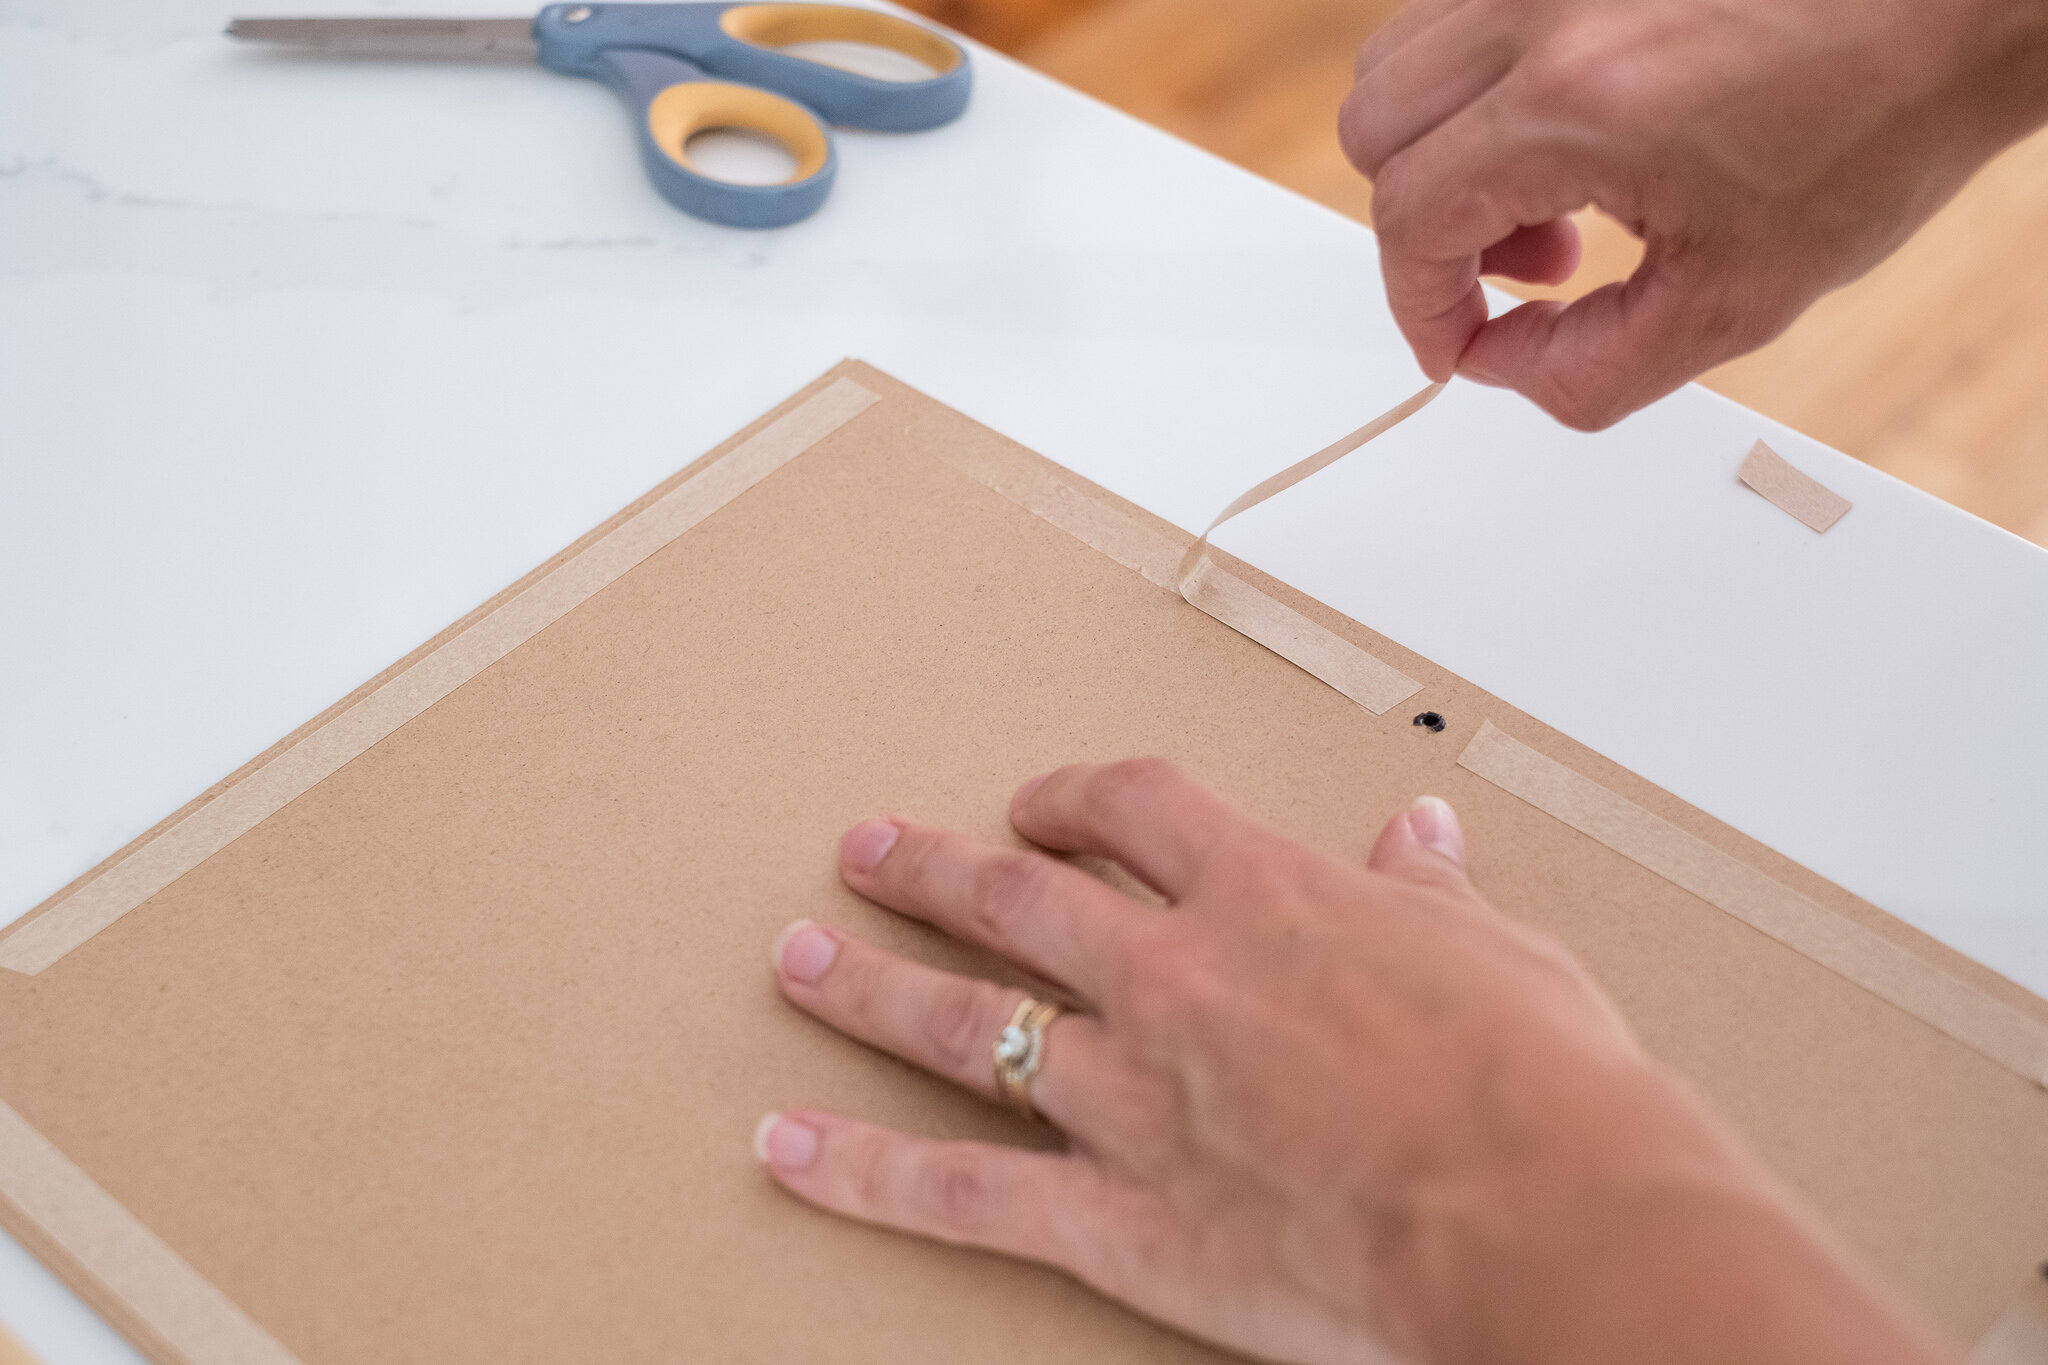
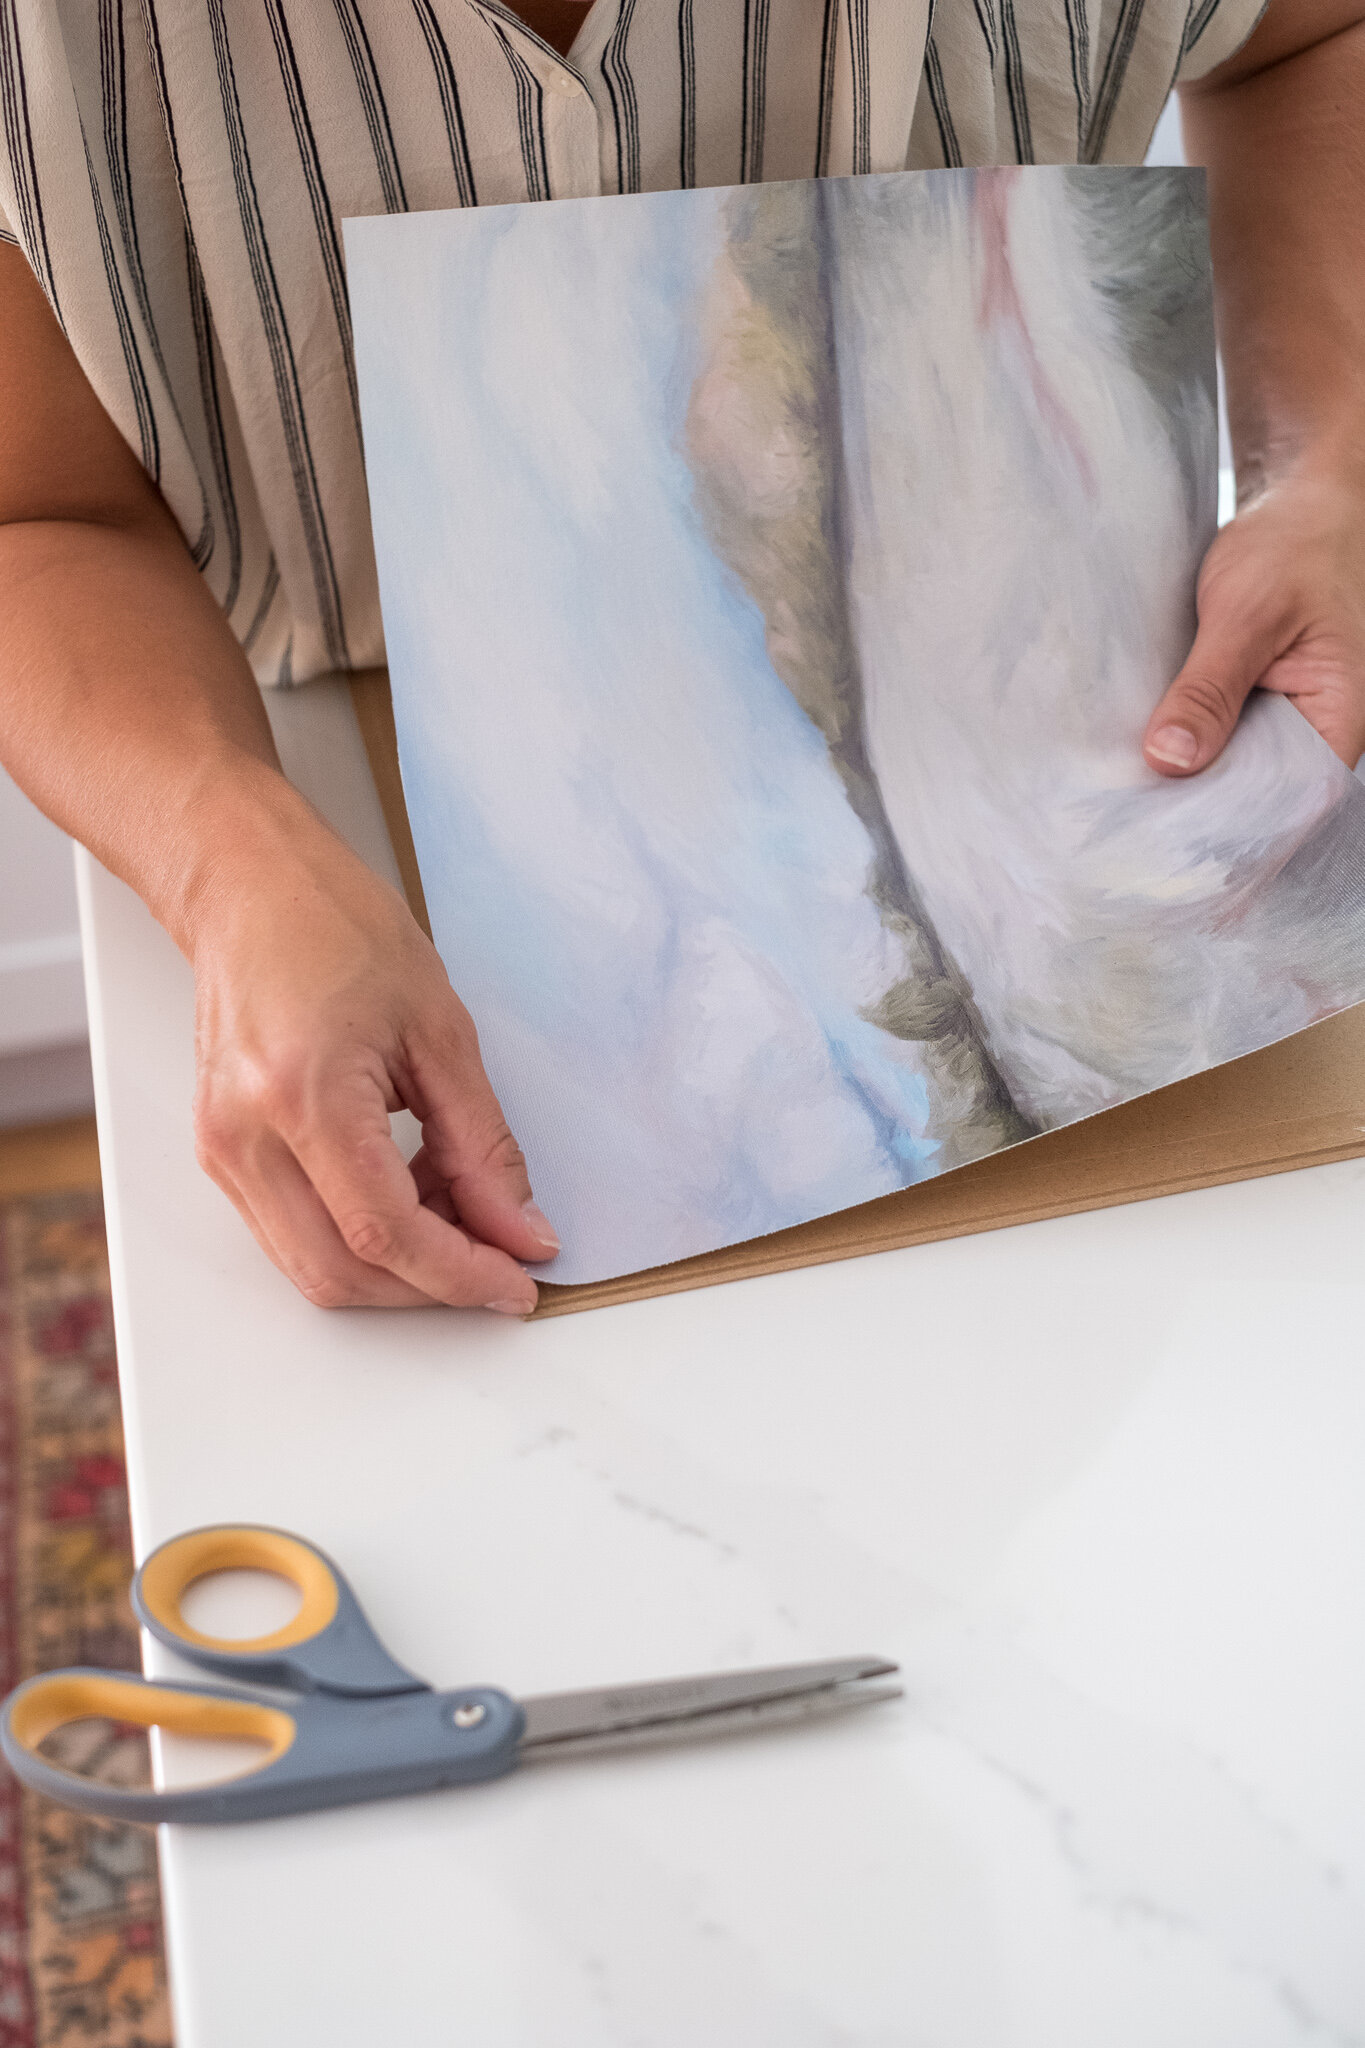
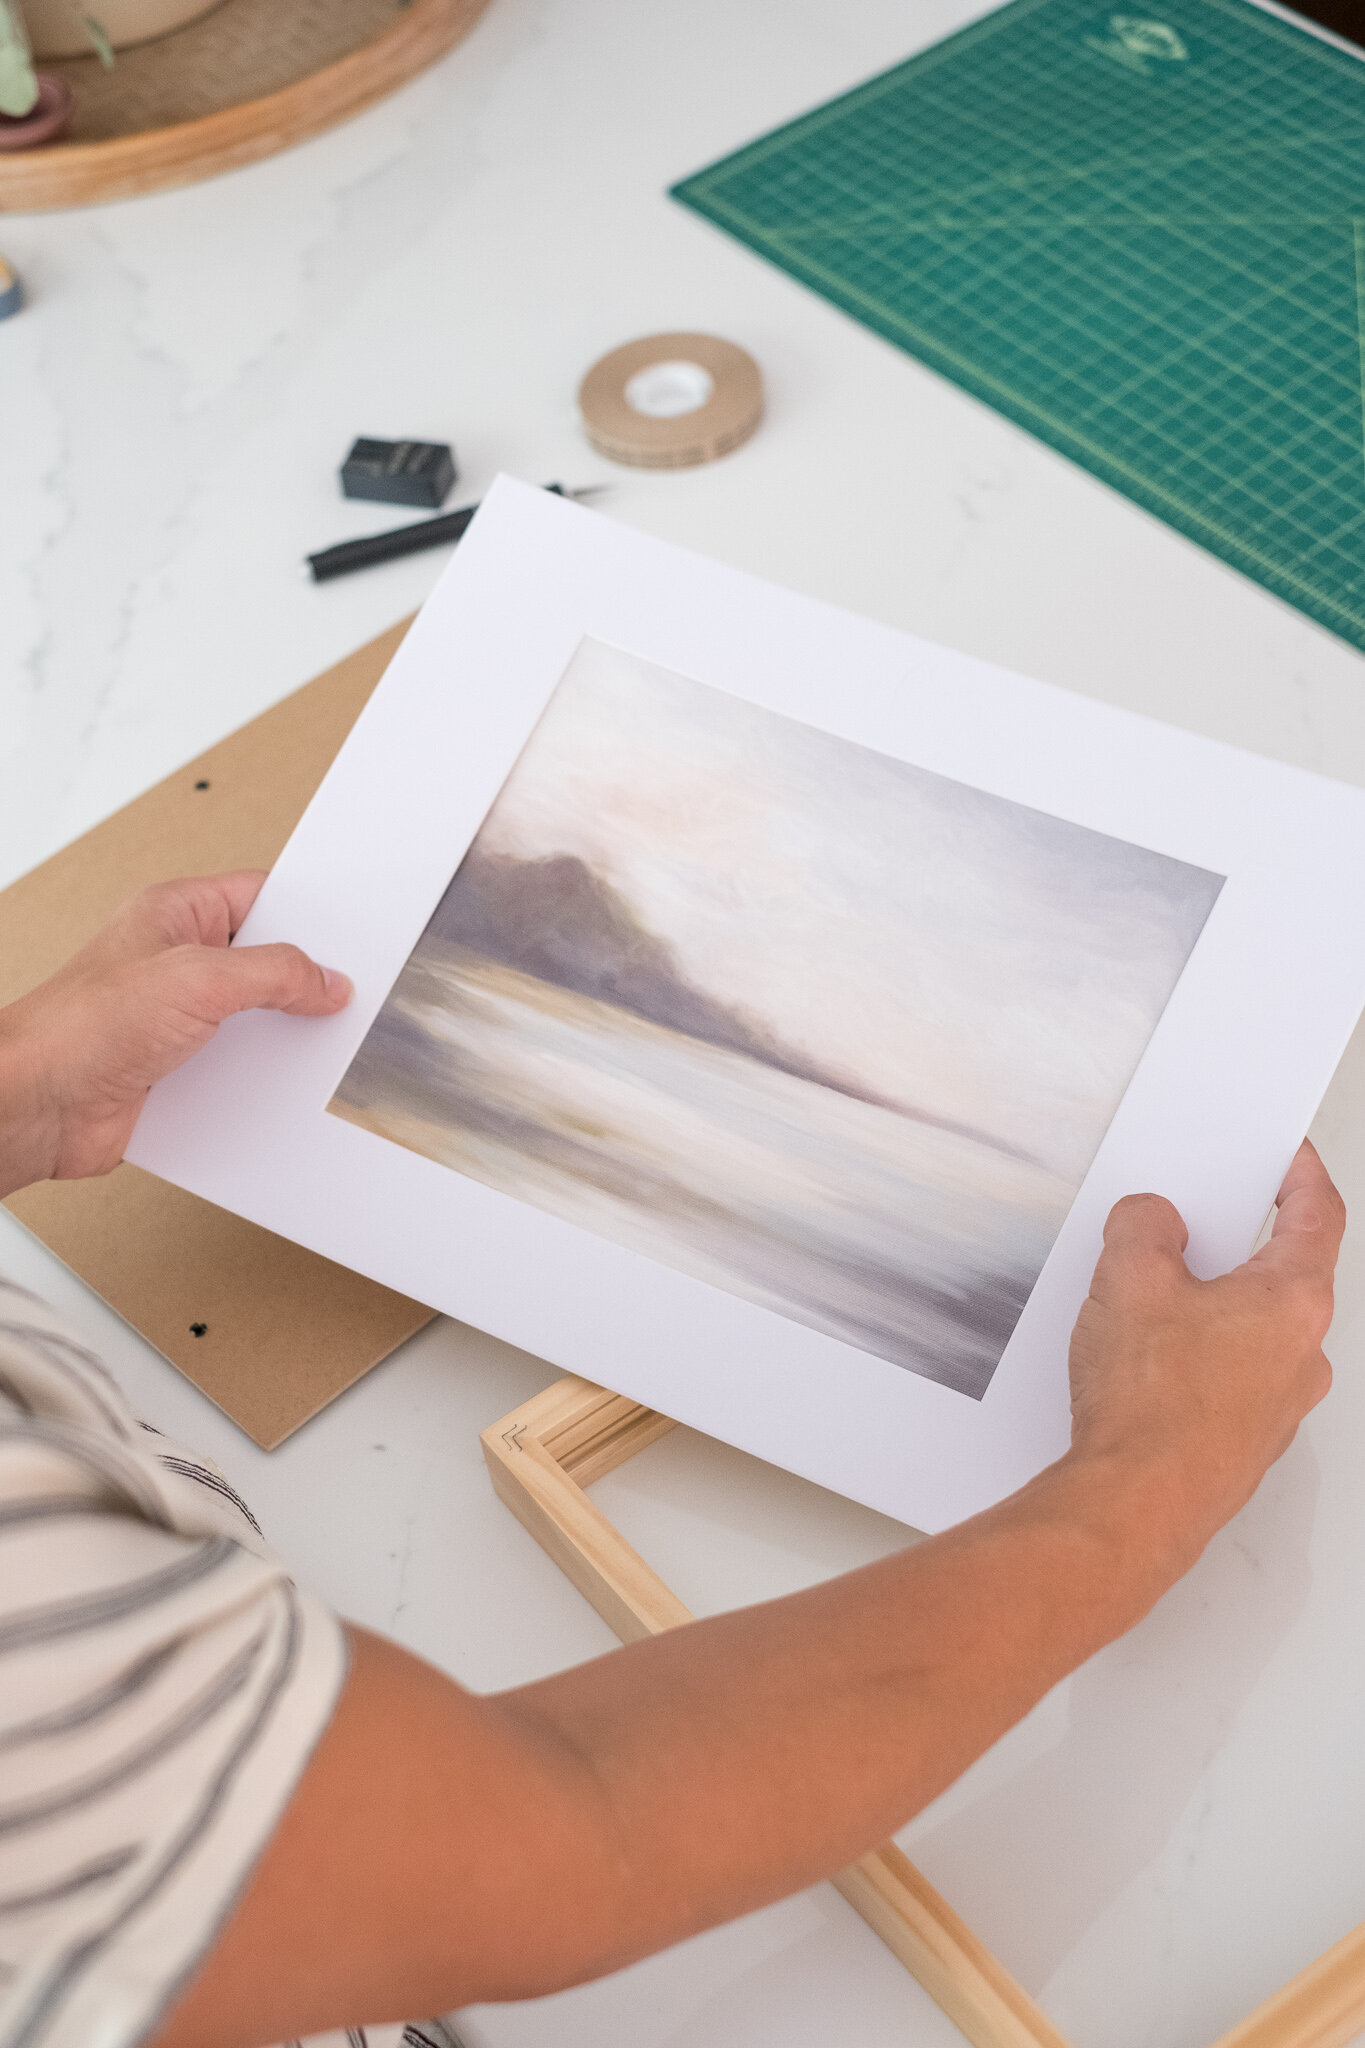
3. Peel back the double stick tape. Start from one corner to initially line up the artwork.
4. Continue to line up artwork and press down so that it lays flush with the backing board. Push out and press down so that you don’t get any creases or bubbles. (Tip: Don’t use a heavy duty double stick tape or it could be hard to readjust as you go).
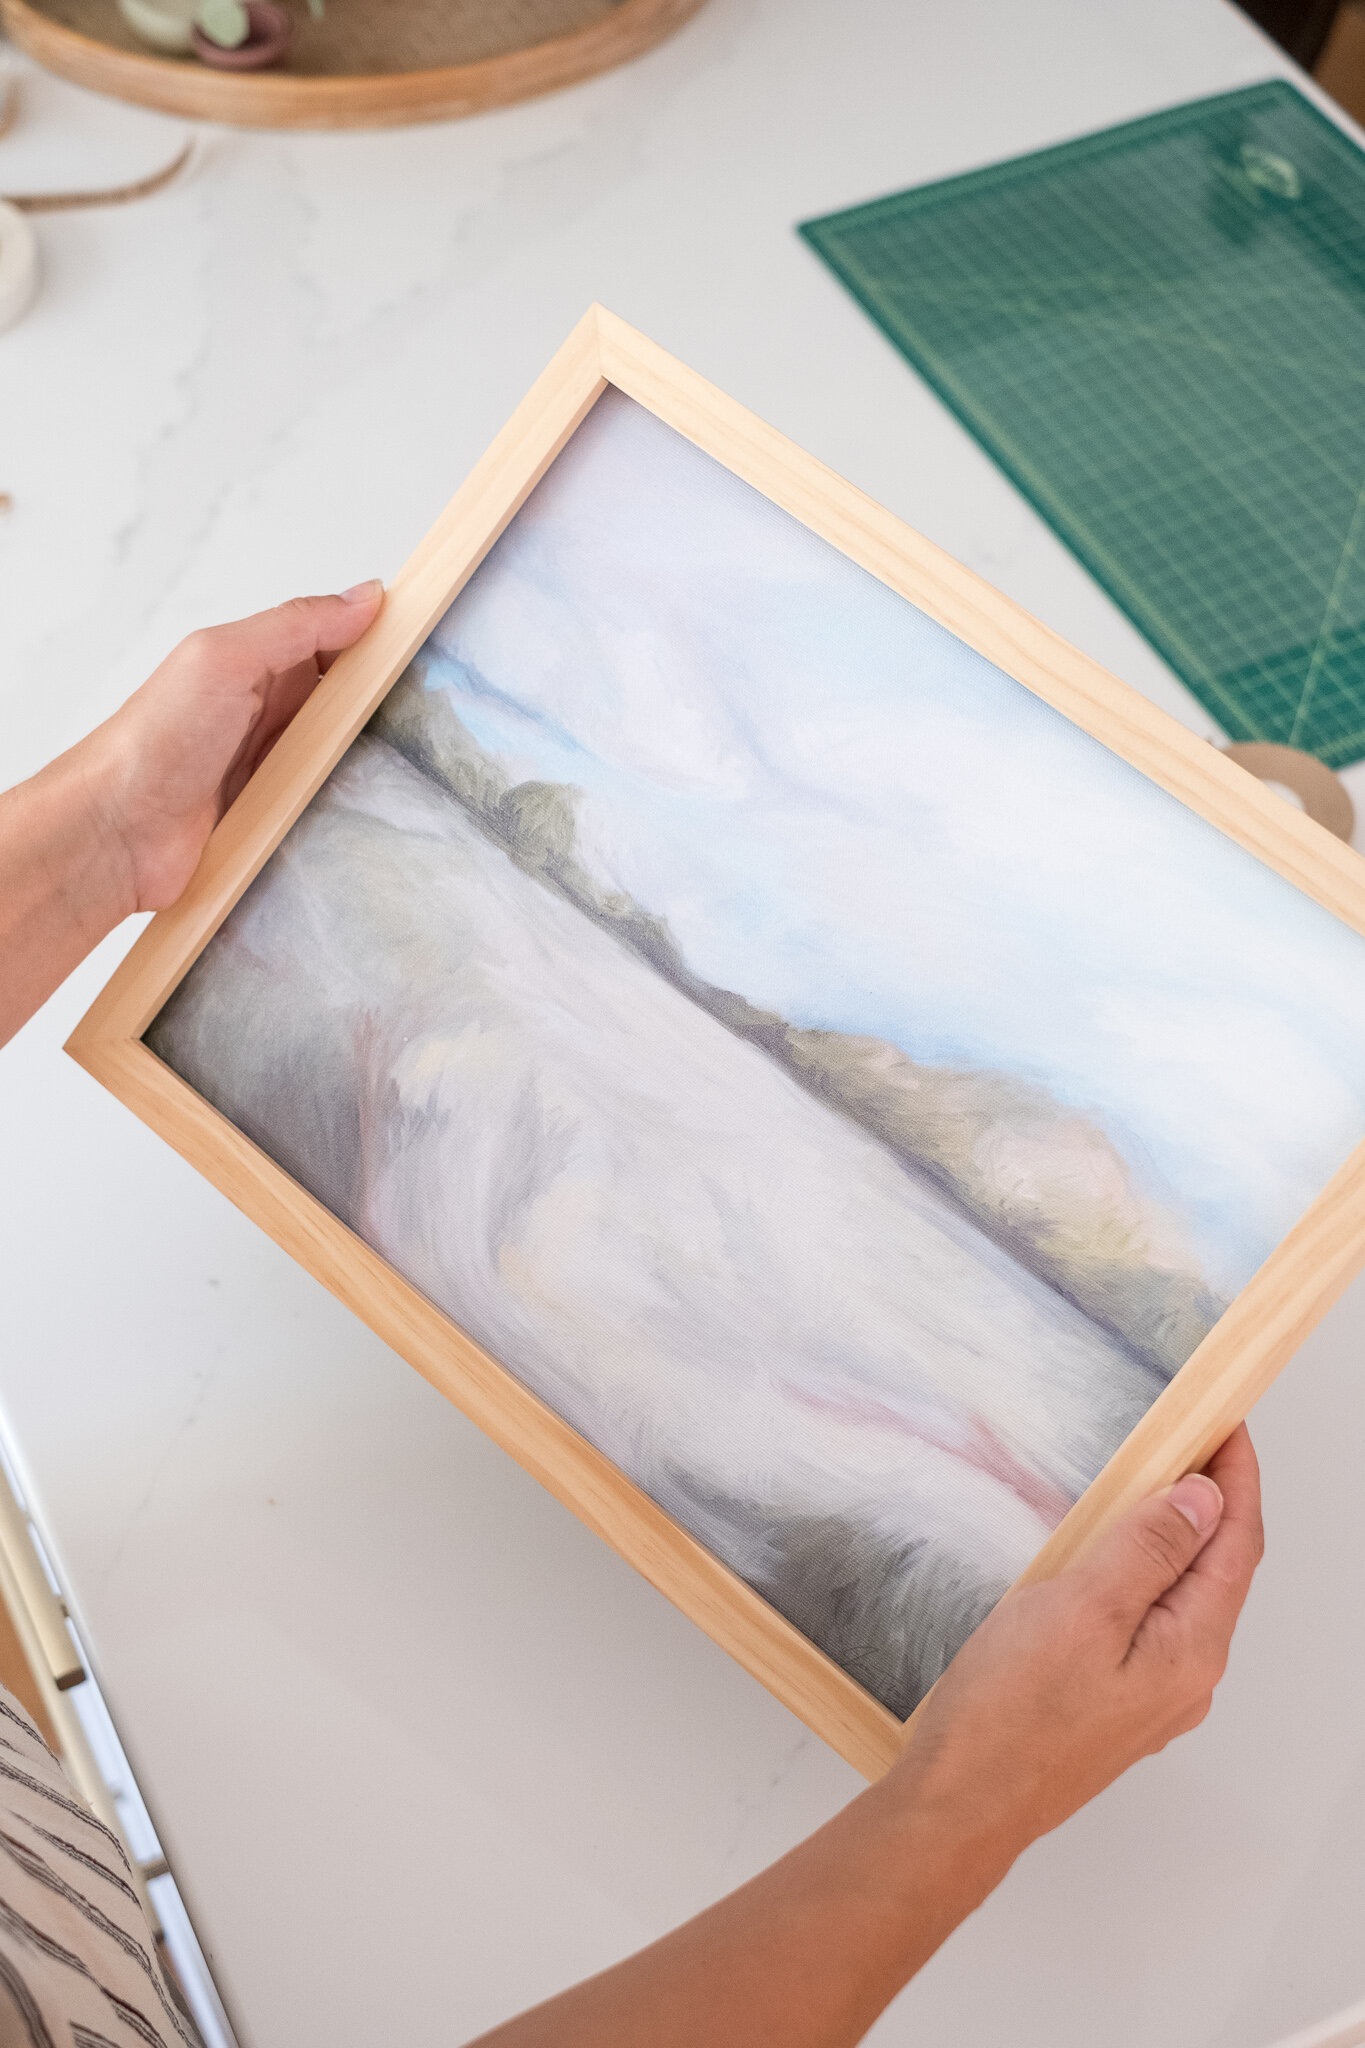
5. Turn backing board over and slide back into frame. Voila! You have a print that looks and feels like a real original canvas painting!
This is an amazing way to fill a large wall in your home at an affordable price. See my list above for affordable Ikea frames in large scale sizes. I also love the idea of finding a vintage frame to add another layer of character!
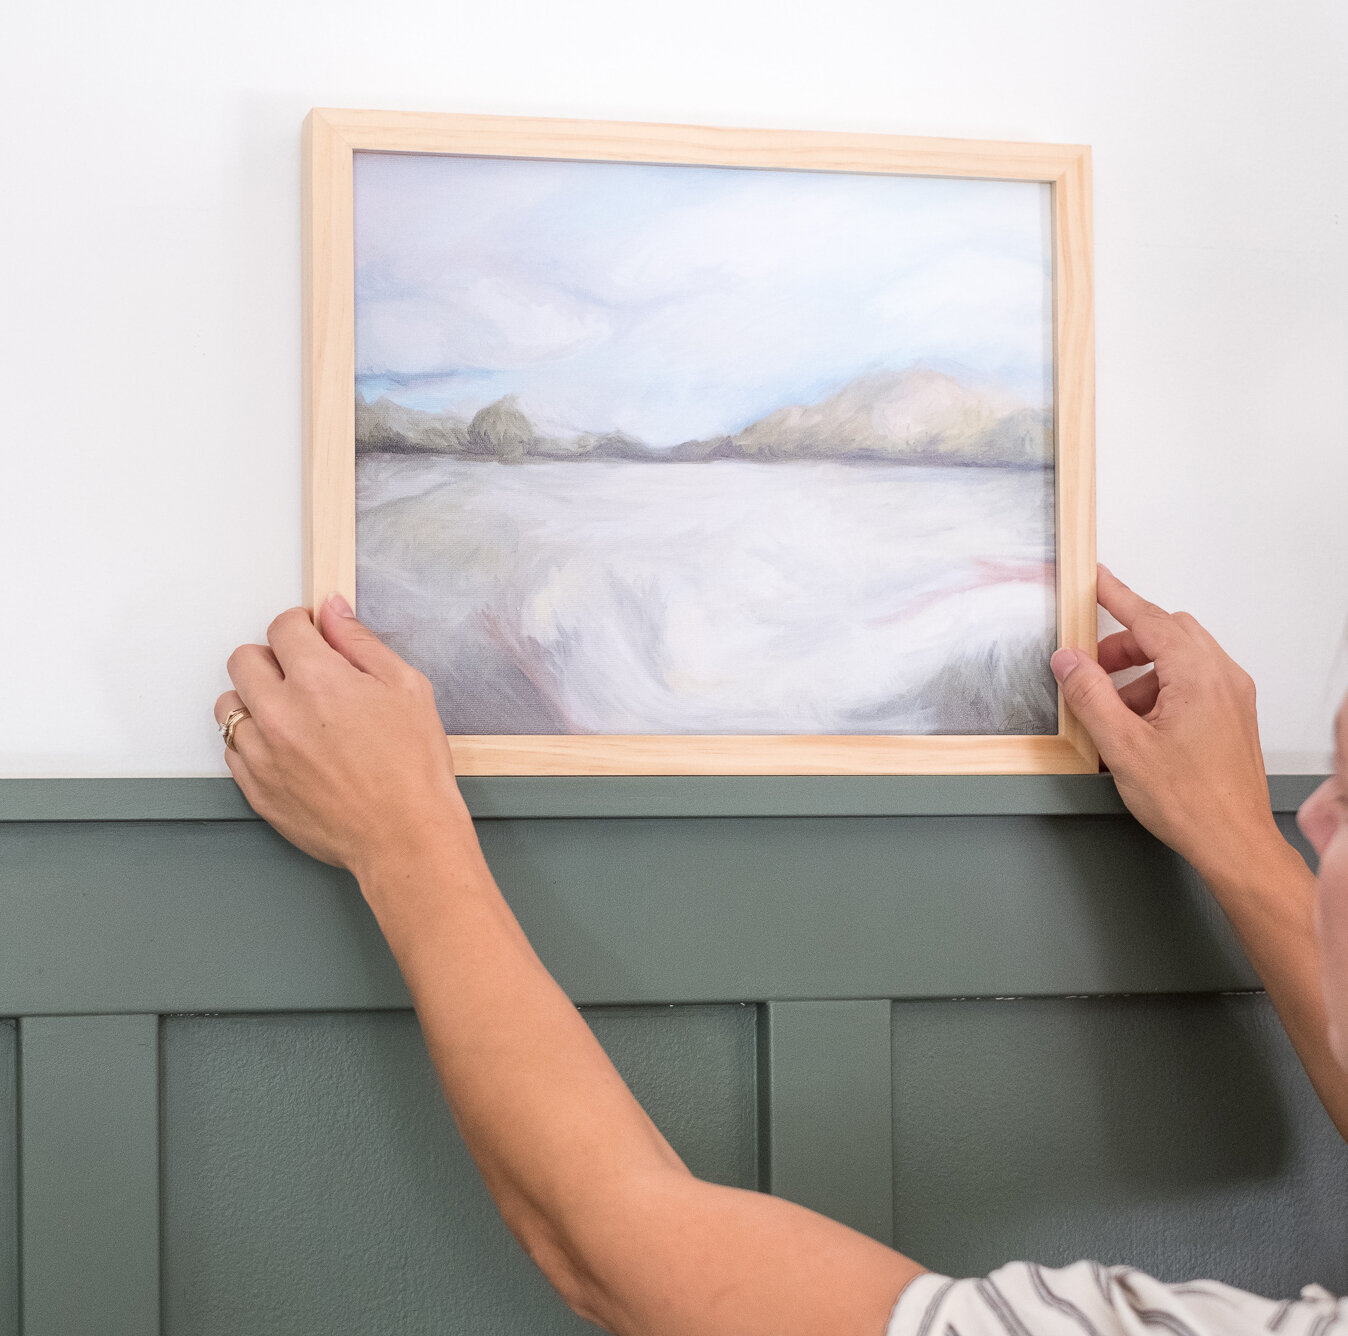
Now you know how to frame your artwork, tag @jessicafraszstudio on instagram so I can see and share it!